Salon • Best Practice
Take Your Best Shot: How to Nail Before-and-After Photos
Take Your Best Shot: How to Nail Before-and-After Photos

Perfecting the process from picking a spot to posting
Is there any better advertising for a salon than a before-and-after photo series that showcases a client’s stunning transformation? In addition to showing the range and effectiveness of services you offer, these photos can help you win the trust of potential clients, gain a following via social media, and build your brand’s visual identity.
That said, while anyone can use a smartphone camera, it takes a bit of skill to make your photos stand out next to all the others on social media. Location scouting, lighting, camera modes, editing, and knowing where and when to post are all part of the process, so we’ve got some tips to help you master those before-and-after shots.
Photography fundamentals
Location, location, location
Don’t worry: You don’t need to actually leave your business to get the most out of your before-and-after photos. Choosing the right spot could be as simple as standing in front of the windows of your salon and allowing that gorgeous natural light to pour into your frame. What’s most important here is to keep the backdrop unobtrusive so that your client’s new ‘do or glowing skin remains the focus.
If your business lacks natural light, consider investing in a small photography area. It doesn’t have to be a major undertaking — something as simple as a hanging backdrop and a quality light or two can take photos to the next level. Alternatively, if you’re looking for something a little bolder, you can decorate or paint one section of your salon to be the designated photo area and show off your vibe in the process.
Shine bright
When it comes to lighting for beauty photos, natural is the name of the game. You want as few shadows as possible on your client’s face without obliterating all contrast, and nothing says natural like sunshine. Try to position clients so that the sun lands evenly across their faces, whether that means standing in front of your windows or stepping outside. Sunlight can be especially attractive during the last hour or so of the day — the so-called “golden hour” produces some truly magic photos. On the flip side, avoid hard, direct sunlight, as it can flatten details and wash out complexions. It’s not cute.
If you’re low on natural light, don’t sweat it. Ring lights are an inexpensive and easy solution that will make your clients appear radiant, casting minimal shadows and catching their eyes for that ubiquitous beauty influencer look.
Shoot for the stars
Thankfully, you don’t need a high-end DSLR to nail your before-and-after photos. Smartphone cameras often incorporate high dynamic range (HDR) to really bring out the details and show depth of color — just make sure it’s turned on in your settings. Additionally, iPhone users can simply switch to Portrait mode in the camera for close-ups and head-and-shoulder shots that pop by blurring out the background in a way that mimics a shallow depth of field. If you want a little more detail from your background or are shooting from slightly farther away, you can keep control of your focus by tapping on the phone screen. When you do, you’ll also be able to drag the exposure up or down to create lighter or darker photos. Don’t be afraid to snap a few (dozen) until you get the right one — smartphones also have huge amounts of built-in and cloud storage, so you can take as many shots as you want.
When shooting clients, try to avoid head-on angles. Aim instead for the ¾ view, which shows slightly more of one side of the subject’s face than the other. These photos tend to come out a little more flattering and a little less confrontational. And however you shoot, make sure to match your after shots as closely as you can to your befores. That means consistent camera angles, client posture, background, and lighting. The closer the match between each shot, the more striking the comparison.
Sharing shots
A light (re)touch
It’s easy to get lost in the sauce when editing photos. Generally speaking, you should avoid retouching any part of the photo your business just had a hand in making. That means if this before-and-after set is to show newly glowing skin, avoid editing that part of the image — step away from the Facetune. On the flip side, if the client whose hair you just glamorized is self-conscious about a pimple, there’s no harm in airbrushing it away so long as the result doesn’t look artificial.
Keep any other adjustments minimal and aim to maintain a consistent white balance and color palette across your shots. Some smartphones come with built-in photo editing software, but more robust tools like free apps Snapseed and Lightroom are ideal for brightening up dark shots.
Posting up
Once you’ve got your shots edited and ready to go, it’s time to upload them to social media and show the world. Visual-focused apps like Instagram and TikTok are ideal places to post, but before you do, survey the landscape on each app. Search in-app or with online tools for relevant hashtags that see engagement but aren’t completely awash in competition or bots. You’ll want to include 3-5 of these hashtags on Instagram and TikTok, but the specific ones — and their exact number — will depend on your business.
Instagram is known for its vibrant photos, while videos are the lifeblood of TikTok. Consider using the former for direct before-and-after comparisons, while the latter can expand on the concept by incorporating clips of your stylists at work. Don’t worry, TikTok’s built-in editing tools make this a lot easier than it sounds! Just keep the videos relatively short — the optimal video length has been reported at 21-34 seconds.
Trends cycle faster and faster every year, but if you can incorporate a hot one into your content organically, you may find it popping up on more For You pages and generating significantly more engagement as a result. Aim to post one to three times each day, or at least once a week, and make sure your posts go up between 9 a.m. and 2 p.m. for optimal Instagram engagement. TikTok timing is a little more complex, varying by location and target audience, but this tool can help you find a posting schedule that’s right for you.
There’s a lot to learn about navigating the world of social media as a salon or spa, but no matter your brand identity, you can be sure that showing results is a winning strategy. Standing out on social media is definitely a challenge, but the results can be spectacular.
Fine tune your social media strategy with our Social Media Marketing Guide for Salon Owners. Get your free copy

Shanalie Wijesinghe
Content Strategy Director
Shanalie Wijesinghe is the Content Strategy Director at Boulevard. She lends her industry and platform expertise to both in-house staff and partner salons and spas. A salon industry veteran with more than 15 years of experience working for high-end luxury salons such as Sally Hershberger and BENJAMIN, Shanalie was previously Director of Education for Boulevard and blends her knowledge of the beauty and technology industries to help put the company’s partners and employees on the path to success. A Bay Area native and first-generation immigrant, Shanalie is a graduate of the Paul Mitchell School specializing in cosmetology, styling, and nail instruction.
Related Posts
DIY Making Clients D-I-Cry? 3 Ways to Turn DIY Fails Into Social Media Gold
Here’s how to turn DIY fails into social media gold while establishing your self-care business’s social media presence.
Read Article
The Modern Client Journey: Why 55% of Gen Z Checks Your Socials Before Booking
Learn why Gen Z clients care so much about your social media presence, which platforms they rely on, and what really matters to them in the self-care sphere.
Read Article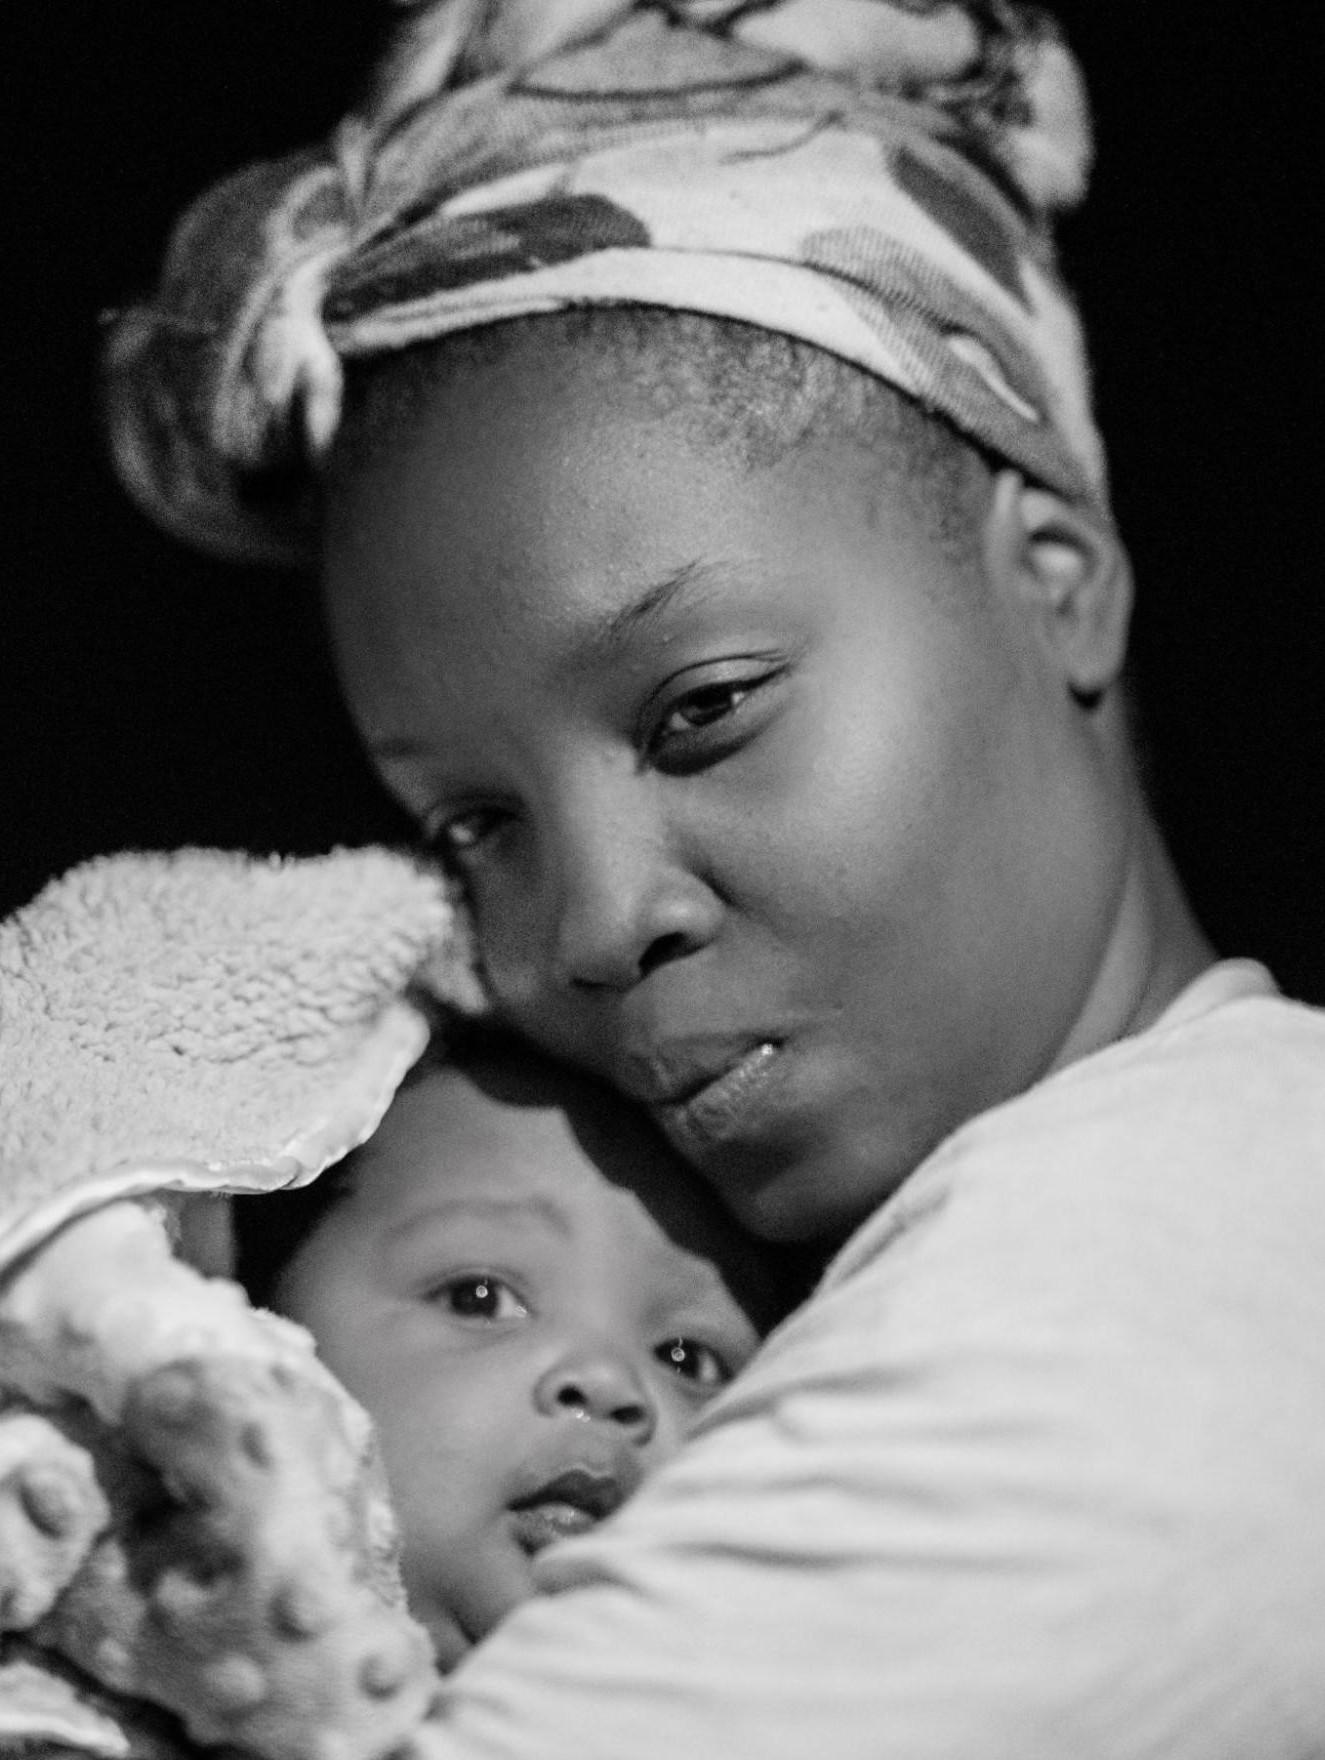
How to Help Clients Navigate Postpartum Hair Loss
Around half of new mothers experience postpartum hair loss in the months after giving birth. Here’s how you can help them look and feel their best.
Read Article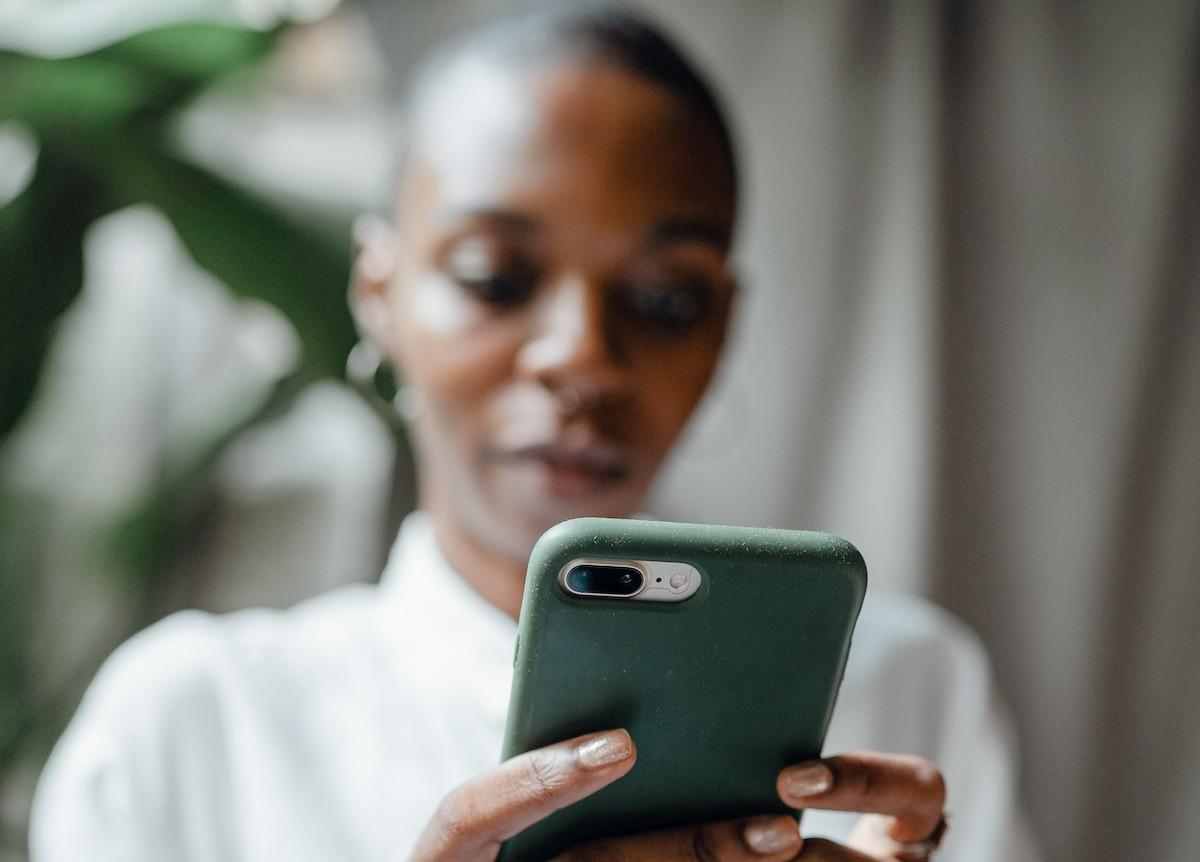
Hair Salon Social Media Strategy: A Complete Guide
This complete guide to hair salon social media strategy will help you set goals, create content, and make an impact on your business.
Read Article
Why Your Self-Care Business Should Be on TikTok
TikTok is an invaluable tool for self-care business owners. Here’s why you should be using it — and some tips for getting started.
Read Article
Taking Shape: Designing Your Salon for Form and Function
You’ve landed the perfect location. Now what? Learn how to optimize efficiency and client satisfaction through layout, decor, lighting, and other decisions.
Read Article
TikTok Tricks: How to Leverage Social Media Trends During Spooky Season
From Beetlejuice Lips to Boo Baskets, discover how to grow your TikTok audience and convert them into clients this Halloween with our guide.
Read Article
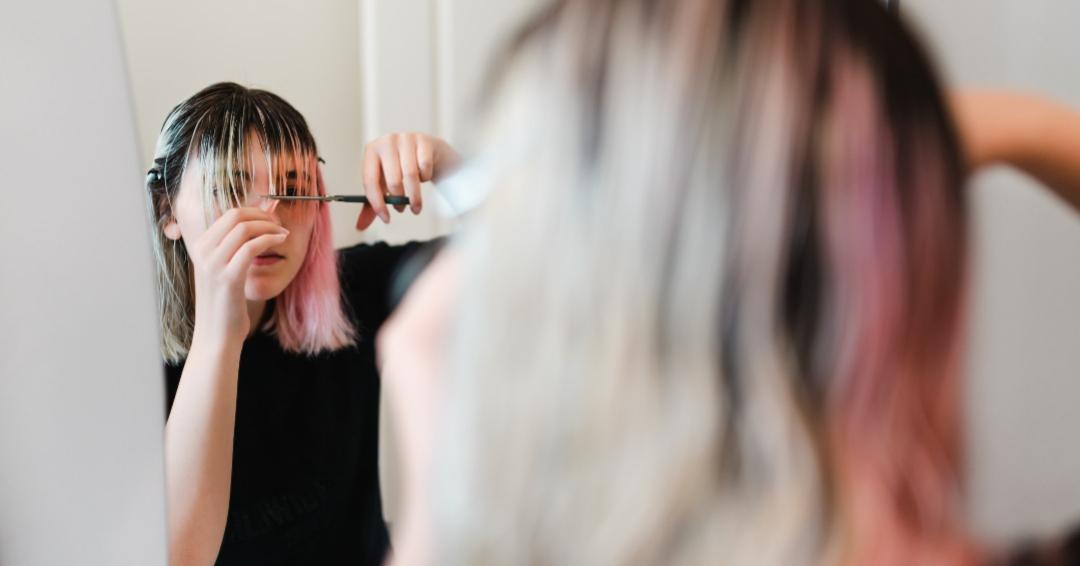
The Hair Color Revolution Is Coming to a Salon Near You
Wild hair colors have gone mainstream. Here’s how your salon can stay ahead of the rainbow hair revolution.
Read Article
5 Signs Your Beauty Business Is Primed for Next-Level Growth
Whether you’re expanding a salon or purchasing a new location, the decision to grow is complex. Here are five signs that you’re ready to take the plunge.
Read ArticleSign up for weekly blog updates.
